Network Diagnostics
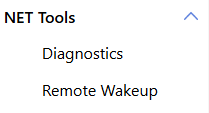
More Settings > NET Tools > Network Diagnostics


Network testing will check the status of the upstream network, router network, and device system, but the test result will be influenced by the environment of the router and the upstream network, so the result is for reference only.
Use network diagnostics
1 . Connect to your router : Make sure your computer or mobile device is connected to your router's Wi-Fi network or via Ethernet. Check if your device has successfully obtained an IP address and network connection.
2 . Open the router management interface : Enter the address of the router's management interface into your web browser. You can find this address in your router's user manual.
3 . Log in to the router : In the router management interface, enter your username and password to log in to the router.
4 . Navigate to the Network Diagnostics feature : Find Network Diagnostics under the "Advanced Settings" option in the router's management interface.
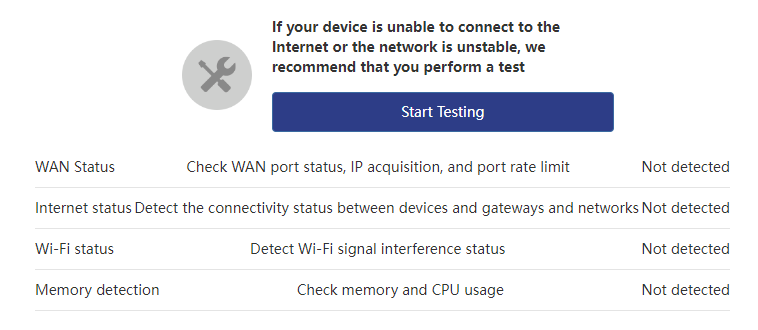
5 . Run network diagnosis : On the network diagnosis function page, click the "Start Testing" button.

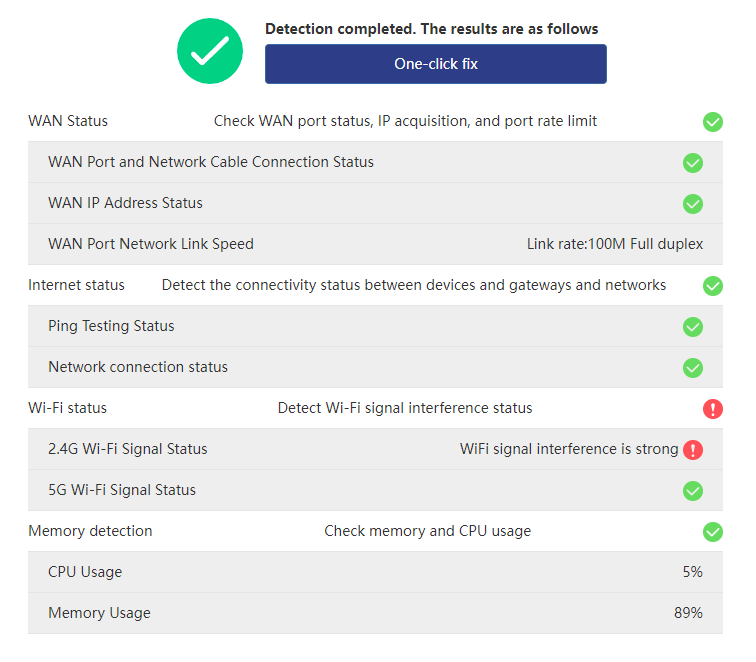
6 . View diagnostic results : Once the diagnosis is complete, you will see a report of the test results. This includes WAN Status, LAN Satus, WiFi Status and other information. Pay attention to any abnormalities or error messages, which will help you determine the root cause of the network problem.

7 . Take action based on the results : Based on the results of network diagnosis, you can click "One-click fix to fix network problems.

8 . Repair completed : After one-click repair is completed, click Refresh to complete the entire process of network diagnosis and repair.