How to configure WireGuard Client?
Configure wireguard Server
There are two ways to configure wireguard client, one is File Upload, and the other is Manual Input . It is recommended that you use File Upload, which is more convenient. If you want to try Manual Input, you can also click Manual Input below to view the configuration steps.
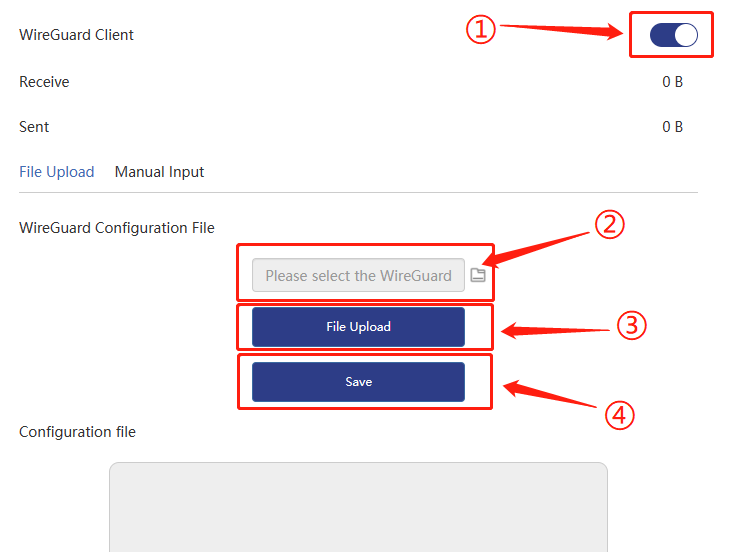
1 . Enter the wireguard settings page, turn on the wireguard function, select the correct configuration file, click "File Upload" after selection to upload the configuration file you just selected, and then click Save.
Tip
- Please remember the configuration file generated by wireguard server.
- The configuration file of wireguard client ends with .conf.
- Be sure to click File Upload and Save.
2 . You need to wait ten seconds after clicking File Upload.

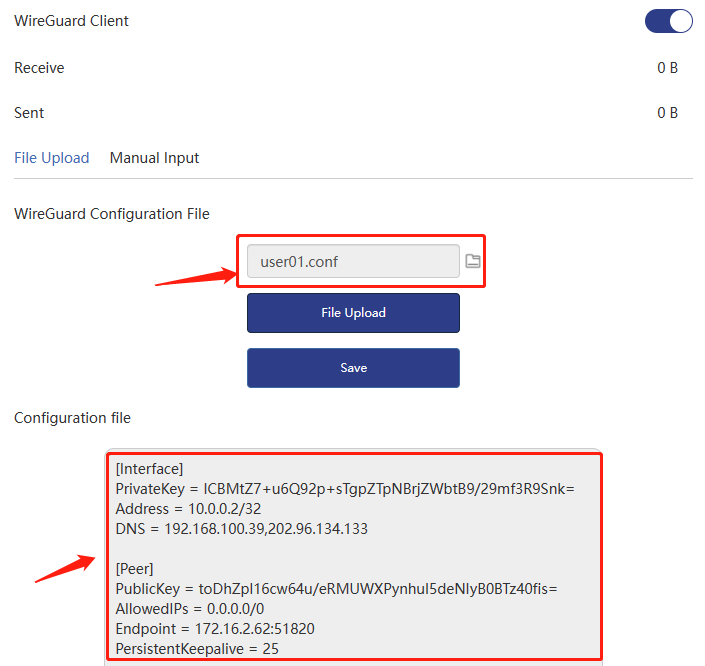
3 . After the upload is successful, the page will display the uploaded configuration file information. After uploading, click Save.
4 . After clicking Save, wait for the application to refresh. The waiting time will be about one minute. Please wait patiently.
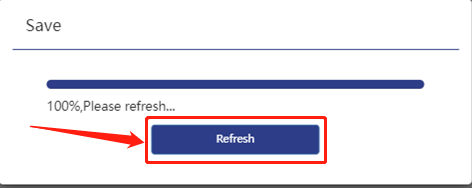
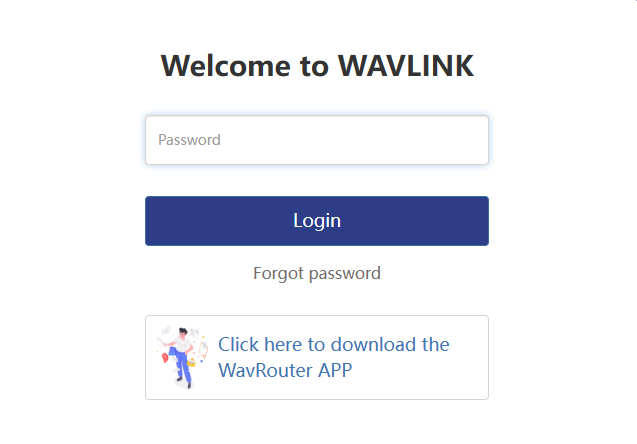
5 . Click Refresh and log in to the management page again.Enter the wireguard settings page again.
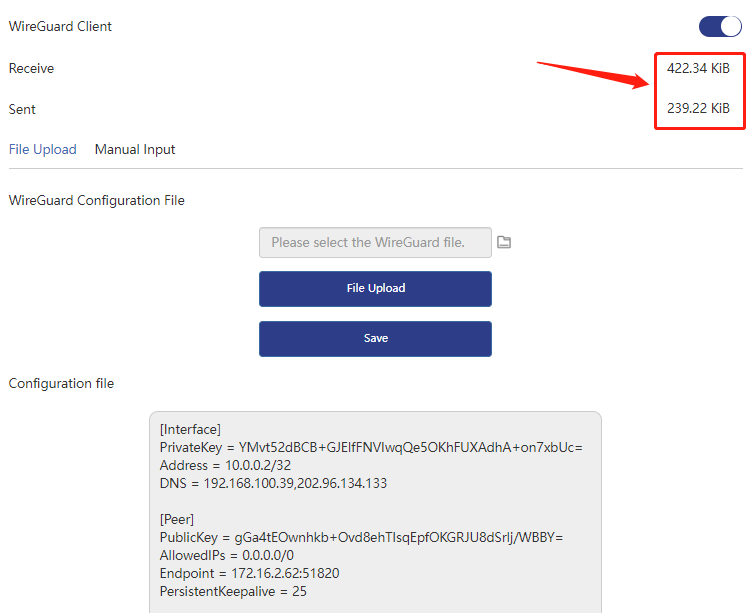
6 . It is found that both Recieve and Sent have data flowing, indicating that you have successfully connected. As shown below.
Notice! Notice!
If you have the following situation and no data flows in Recive, it means that the wireguard connection failed.
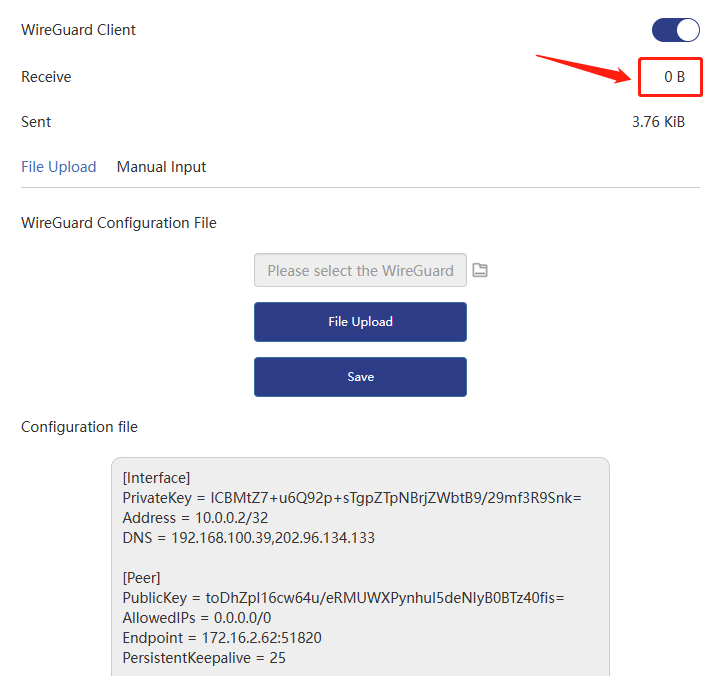
At this time, you need to check whether your configuration file is correct and whether your server is running normally.
After checking, you can reconnect by uploading the configuration file again.
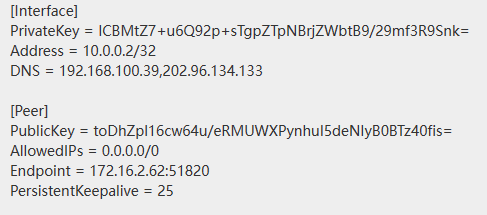
Note that when entering manually, all parameters must be filled in strictly according to the configuration file generated by the server. These options that need to be filled in can be found in the configuration file, so you need to confirm that the configuration file is correct.
Important
Please make sure that the parameters entered are correct, otherwise the wireguard connection will be affected.
For example :
Note
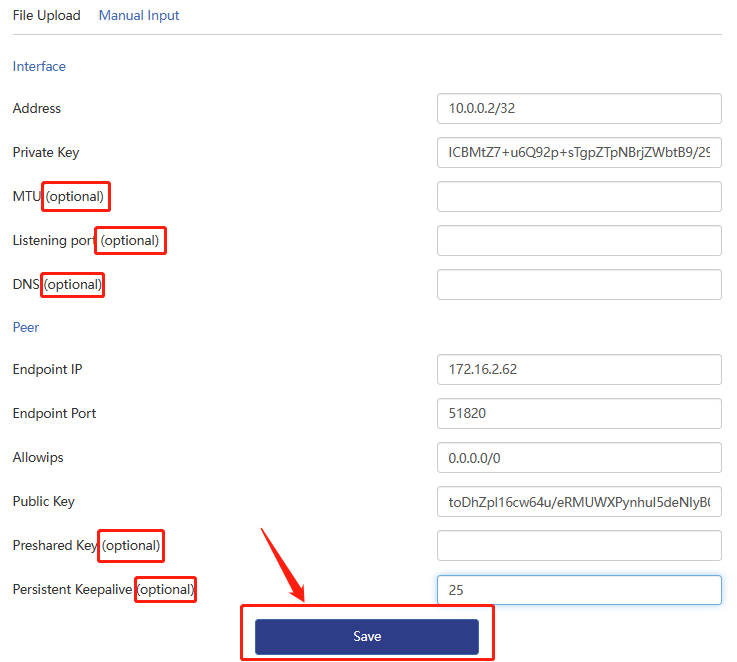
Please note that you must click Save for the configuration to take effect.
For optional options, if you need these parameters to better help you establish a connection, you can fill them in as needed; if you do not need these parameters, you can choose not to fill them in.The following is the parameter analysis.
- Interface : Indicates the network interface name of WireGuard VPN.
- Address : Indicates the IP address and subnet mask used by WireGuard VPN.
- Private Key : Represents the private key of WireGuard VPN, used to encrypt and decrypt communication data.
- MTU (optional) : Indicates the maximum transmission unit size of WireGuard VPN.
- Listening port (optional) : Indicates the port number that the WireGuard VPN server listens to.
- DNS (optional) : Indicates the DNS server address used by WireGuard VPN.
- Peer : Indicates the peer configuration information of WireGuard VPN.
- Endpoint IP : Indicates the IP address of the peer.
- Endpoint Port : Indicates the port number of the peer.
- Allowips : Indicates the IP address and subnet mask range allowed for peer access.>- Public Key : Represents the peer’s public key.
- Preshared Key (optional) : Represents a preshared key used for authentication and encrypting communication data.
- Persistent Keepalive (optional) : Indicates the persistence Keepalive interval, used to keep the connection active.